

Key Takeaways
Why prep work determines the final result
Most DIY paint jobs that look amateurish fail at the prep stage, not during the painting itself. Walls with unfilled nail holes, dusty surfaces, or unprimed patches absorb paint unevenly and show every flaw once the color dries. Spending one to two hours on prep before opening a single can of paint is what separates a result you will be happy with from one you want to redo.
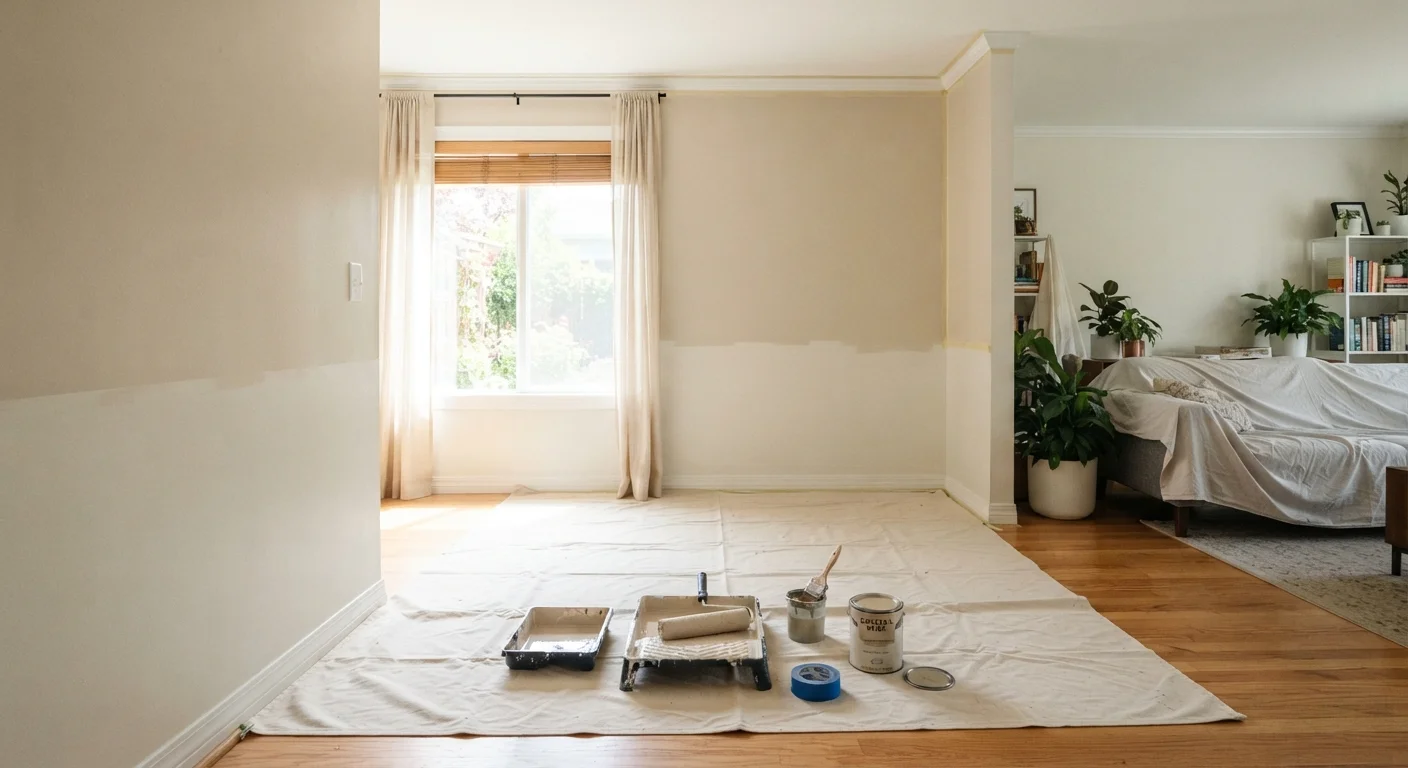
Start by moving furniture to the center of the room and covering it with plastic sheeting. Lay canvas or plastic drop cloths across the floor, overlapping at the edges so paint drips cannot reach the flooring. Remove outlet covers and switch plates, and tape over the boxes themselves. Before you mask the trim, wipe down walls with a lightly damp cloth to remove dust and grease, paying attention to areas near light switches and doorframes where hands accumulate oils.
Fill holes and dents with lightweight spackling compound, let it dry fully, then sand smooth with 120-grit sandpaper. If you are painting over a dark color or bare drywall, apply a coat of primer first. Skipping primer over bare patches causes those spots to look duller than the surrounding wall once the topcoat dries, a problem called flashing that requires additional coats to correct.
For more small-but-impactful fixes that improve how a room looks, see our guide to grout cleaning and caulk replacement.
Test your color before buying multiple gallons
Paint stores sell small sample sizes for a few dollars. Apply the sample to a 12-by-12-inch section of your actual wall and observe it at different times of day and under artificial light before committing. Wall color shifts noticeably between morning light and evening lamplight, and samples on paper swatches rarely match what ends up on the wall.
Choosing paint and calculating how much you need
Paint is sold in flat, eggshell, satin, and semi-gloss finishes. Flat hides imperfections well but scuffs easily, so it works best on ceilings and low-traffic walls. Eggshell and satin hold up to cleaning and are practical for living rooms and bedrooms. Semi-gloss is durable and moisture-resistant, which makes it the standard choice for trim, doors, and bathrooms.
To calculate coverage, measure the total square footage of the walls (height multiplied by width for each wall, added together), then subtract roughly 20 square feet for each door and window. One gallon of paint covers approximately 350 to 400 square feet per coat on smooth walls. Buy slightly more than your calculation suggests because running short mid-wall and buying a second can from a different batch can produce a noticeable color variation, even in the same color code.
Mid-grade paint from a hardware or paint store generally offers better coverage per coat than budget options, which means fewer coats and less total product used. That said, you do not need the highest-priced line on the shelf to get a clean, durable result in a standard interior room. For a broader look at when spending more on tools and materials saves money over time, our article on renting vs. buying tools for home projects covers the same principle applied to equipment.
Step-by-step: painting the room
With prep complete and materials gathered, the painting sequence matters. Working in the wrong order creates extra cleanup and can damage edges you have already finished.
Mask trim, windows, and edges
Apply painter's tape along the top edge of baseboards, along window and door casings, and along the ceiling line if you are not cutting in freehand. Press the tape edge firmly with a putty knife or your fingernail to prevent paint bleeding underneath. Remove tape while the paint is still slightly tacky, not after it has fully hardened, to avoid pulling off dried paint with it.
Cut in around edges with a brush
Load a 2- to 2.5-inch angled brush with paint and cut in a 2- to 3-inch band along all edges: ceiling line, corners, around trim, and around outlets. Keep a wet edge and work in sections of about three to four feet so the cut-in paint does not dry completely before you roll the adjacent wall area. Dried cut-in edges create a visible line called lap marks where the roller meets them.
Roll the walls in a W pattern
Load a 9-inch roller with paint, roll off the excess on the tray's ribbed surface, then apply paint to the wall in a loose W or M shape covering about a 3-foot square. Fill in the W without re-loading, then finish with light upward strokes to even the texture. Move to the adjacent section while the previous one is still wet so edges blend. Work from top to bottom and keep the room ventilated.
Apply a second coat after proper drying
Let the first coat dry according to the time listed on the paint can, typically two to four hours for latex paint under normal indoor conditions. Do not rush this step. A second coat applied too soon traps moisture, leads to uneven sheen, and can peel in humid rooms. Once dry, apply the second coat using the same cut-in-then-roll sequence. Two coats applied correctly nearly always look more even than three coats applied in a hurry.
Remove tape and clean up
Pull tape off at a 45-degree angle away from the painted surface while the paint is still slightly soft. If any tape is stuck, score along the tape edge with a utility knife before pulling to avoid tearing the wall. Clean rollers and brushes with warm water for latex paint immediately after finishing. Dried latex paint destroys brushes. Store leftover paint in the original can with the lid sealed tightly, labeled with the room name and the date.
If you are also planning exterior work, the same prep-first discipline applies. Our article on curb appeal upgrades on a budget covers low-cost exterior improvements that pair well with a freshened interior.