

Key Takeaways
Why small fixes matter more than they look
Cracked caulk around a tub, stained grout lines, a loose towel bar, a squeaky cabinet hinge: none of these feel urgent. Over time, though, neglected caulk lets water behind tile, and water behind tile causes rot, mold, and structural damage that costs thousands to fix. The small fix stops the expensive one from happening.
These tasks also have an outsized effect on how a room looks. Grout covers a large visual area in any tiled space. When it is gray with mildew or crumbling at the edges, the whole room reads as old and worn. Fresh grout lines and a clean bead of caulk make the same tile look recently renovated. This matters for daily living and for home resale. For more context on planning these kinds of projects, see the seasonal home maintenance checklist.
Grout cleaning: what actually works
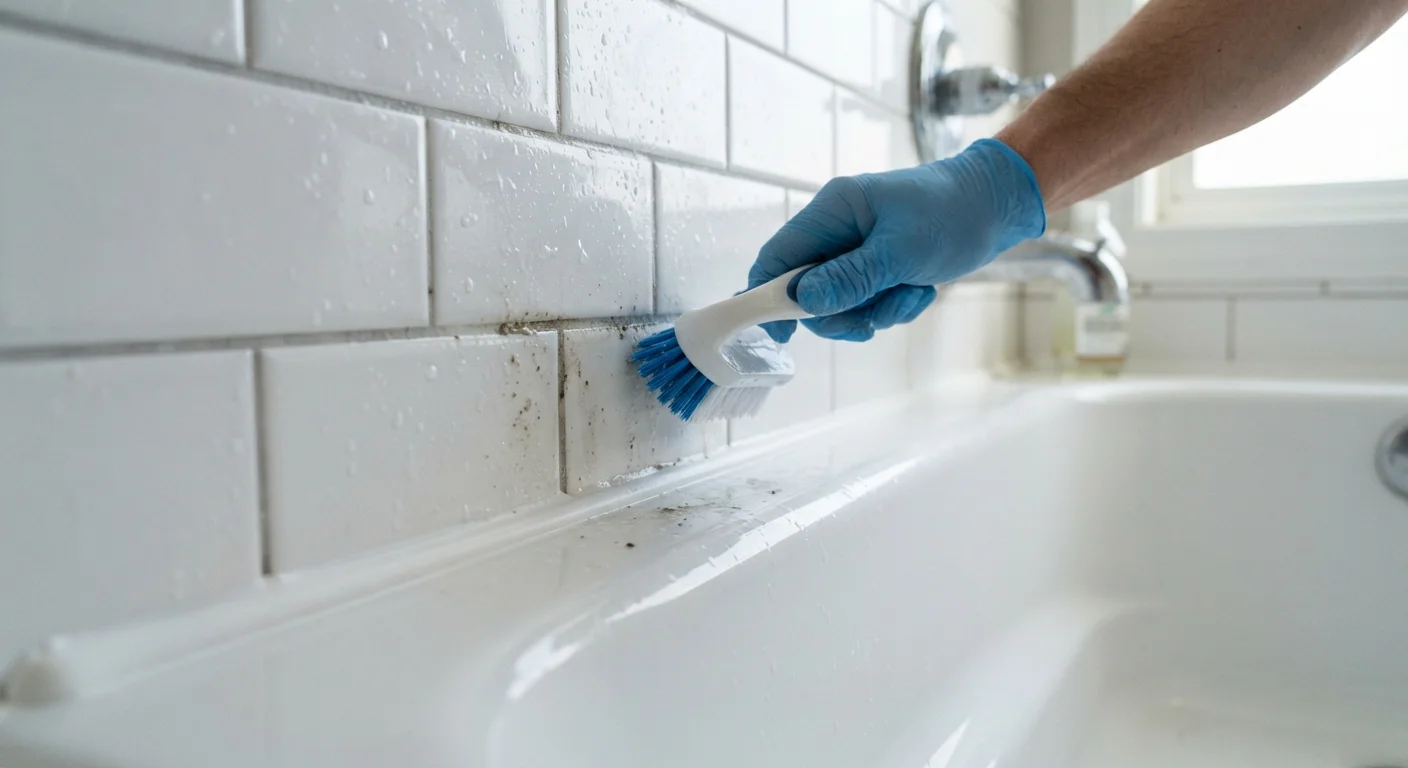
Grout is porous, so it absorbs soap residue, hard water minerals, and mold spores. Surface scrubbing with a general cleaner removes loose dirt but does little for embedded staining. The most effective approach for moderately stained grout is an oxygen-based cleaner or a paste made from baking soda and hydrogen peroxide, applied and left to dwell for 10 to 15 minutes before scrubbing with a stiff-bristle brush.
For grout that is blackened by mold, a diluted bleach solution (one part bleach to ten parts water) works on white or light-colored grout. Wear gloves and ventilate the space well. Do not mix bleach with any ammonia-based cleaner: the combination produces toxic fumes.
After cleaning, apply a penetrating grout sealer once the grout is fully dry. Sealer reduces future staining and makes routine cleaning faster. Budget-conscious families can treat this as an annual task, which takes under an hour for a standard bathroom.
Seal grout after every deep clean
Grout sealer is inexpensive and dramatically reduces how quickly grout restains. Apply it with a small brush or roller applicator after the grout has dried thoroughly. In high-moisture areas like showers, plan to reseal once a year. This one habit cuts future cleaning time significantly.
If grout is crumbling, missing in sections, or has persistent mold that cleaning does not eliminate, regrouting is the right step. Regrout kits include a grout saw, premixed grout, and a float. Remove the old grout to a consistent depth, apply new grout in sections, wipe the haze before it sets, and seal after curing. This is a manageable weekend project for most adults.
Caulk replacement: when and how
Caulk should be replaced when it shows any of the following: visible mold that does not clean off, cracks or gaps, separation from the tile or tub surface, or a yellow or brown color change. Cosmetically compromised caulk is also a practical problem: any gap is a water entry point.
Removing old caulk properly is the step most people skip, and it is why new caulk often fails within a year. Use a plastic caulk remover tool or a utility knife to cut along both edges and peel out the old bead. Then clean the surface with rubbing alcohol and let it dry completely, at least an hour, before applying new caulk.
For wet areas such as tubs, showers, and the base of toilets, use a silicone or siliconized latex caulk labeled for kitchen and bath use with mold inhibitor. Apply in one steady pass, smooth with a wet finger or a caulk tool, and do not use the tub or shower for at least 24 hours. Read the product instructions for the specific cure time, as it varies.
Families who want to understand the total cost of DIY work before starting can read about hidden DIY costs to plan more accurately.
Other small fixes with real impact
Several other minor repairs belong in the same category as grout and caulk: low skill threshold, low cost, and visible results.
- Tightening or replacing cabinet hardware takes minutes and changes the entire feel of a kitchen. A screwdriver and the right screw length are all that is needed for loose handles.
- Re-securing a loose toilet seat requires a wrench and costs nothing if the existing hardware is intact. A wobbly seat is both annoying and unsanitary.
- Filling small drywall holes with spackle, sanding smooth, and touching up with matching paint makes walls look maintained. For matching paint color, save a small jar of the original paint when you first paint a room.
- Replacing a worn door sweep stops drafts and insects. This is a straightforward swap with a screwdriver and takes under 20 minutes per door.
Pairing these repairs with a fresh coat of paint in the same room amplifies the result. The room painting guide covers prep and technique in detail.
Always remove all old caulk before applying new caulk
New caulk bonded over old caulk does not adhere properly and will crack or peel within months. Full removal gives the new caulk a clean substrate to grip, which is what makes the repair last.
Let surfaces dry completely before sealing, caulking, or grouting
Moisture trapped under grout or caulk causes adhesion failure, mold growth, and premature cracking. Even surfaces that look dry may retain moisture after cleaning.
Match the product to the location
Kitchen and bath caulk contains mold inhibitors and is rated for wet conditions. Using standard interior caulk in a shower or around a sink leads to mold problems and faster breakdown.
Test grout color on an inconspicuous area before committing
Pre-mixed grout colors can look different when dry compared to the color shown on the package. A small test patch avoids a visible mismatch across an entire tiled wall or floor.
Ventilate the work area when using bleach or chemical cleaners
Bleach fumes build up quickly in enclosed bathrooms and can cause respiratory irritation. Ventilation is a basic safety step, not optional.
Avoiding the most common mistakes
The repairs above are straightforward, but a few consistent errors cause them to fail or cost more than expected.
Skipping surface prep is the leading cause of caulk and grout failures. New caulk applied over old caulk, or over a damp surface, will peel within months. Cleaning and drying take longer than the application itself, but they determine whether the repair lasts one year or ten.
Using indoor caulk in wet areas is another common error. Standard paintable latex caulk is not formulated to resist constant moisture. It grows mold quickly and degrades. Check the label before purchasing.
Rushing cure time is also a problem. Grout and caulk both need time to cure before exposure to water. Getting impatient and using the shower or tub before the product is fully cured often means redoing the work within weeks.
For a broader view of where DIY projects can overrun budgets, see the DIY cost pitfalls article. And if a project requires specialty tools you do not own, the tool renting vs. buying guide can help you decide whether to rent or purchase.